I’ve seen too many traders blow up their accounts on Etherions because they treated volatility like a game.
You’re here because you know Etherions move fast. That creates opportunity. But it also means you can lose money faster than you think if you don’t have a clear plan.
Here’s the reality: volatility isn’t your enemy. Trading without strategy is.
I built this guide after analyzing how the Etrstrading platform actually works. Not surface level stuff. The tools that matter. The setups that give you an edge.
Trading tips from Etherions come down to two things: understanding market momentum and managing your risk like your account depends on it. Because it does.
This isn’t theory. It’s what works when real money is on the line.
You’ll learn how to set up your workspace, read the signals that matter, and execute orders that match your strategy. Not someone else’s. Yours.
We focus on the principles that separate traders who last from traders who don’t. Market momentum tells you when to move. Risk management tells you how much to risk.
By the end of this guide, you’ll have concrete strategies you can use today on the Etrstrading platform. No fluff. Just what you need to trade Etherions with more confidence and better results.
Foundations First: Mastering the Etrstrading Interface
Let me show you something most traders get wrong.
They jump straight into placing trades without setting up their workspace first. Then they wonder why they’re always scrambling to find the right indicators when a move happens.
I’m going to walk you through the basics that actually matter.
Customizing Your Workspace
Start with your chart layout. You want your most-used indicators ready to go.
Click the layout icon in the top right corner. Add your RSI and MACD to separate panels below your main chart. (I keep RSI at 14 periods and MACD at standard 12, 26, 9 settings.)
Save this as “Default Setup” or whatever name works for you.
Now here’s the part people skip. Create a second layout for different market conditions. Maybe one with volume profile for range-bound days. Save that too.
You can switch between them in two clicks when the market shifts.
Reading the Order Book
The order book shows you what’s waiting to happen.
Look at the left side. Those are buy orders stacked at different price levels. The right side shows sell orders.
See a massive buy wall at $2,450? That’s support. A huge sell wall at $2,500? That’s resistance.
But watch for fake walls. If a big order disappears the moment price gets close, someone was just trying to manipulate sentiment.
Pro tip: Real institutional orders usually stay put.
Drawing Your Levels
Select the trendline tool from the left toolbar.
Connect at least two swing lows for an uptrend line. Two swing highs for a downtrend. The more touches, the stronger that line becomes.
For support and resistance, use the horizontal line tool. Mark where price has bounced or stalled multiple times.
Fibonacci retracements work best after a clear move. Click the tool, then drag from the swing low to the swing high (or reverse for downtrends). The 38.2%, 50%, and 61.8% levels are where I watch for reversals.
One-Click Trading Setup
Go to Settings, then Trading Preferences.
Enable “One-Click Trading” but read the warning first. This removes the confirmation step.
Set your default order size. I recommend starting small until you’re comfortable with the speed.
The buy and sell buttons will appear right on your chart. Click once and you’re in.
This matters when etrstrading trading tips from etherions show a signal and you need to move fast. Hesitation costs money in volatile markets.
Just remember to turn it off when you’re done actively trading. (You don’t want to fat-finger a trade while reviewing your charts later.)
Core Strategies: From Quick Scalps to Broader Swings
Have you ever stared at a chart and wondered which timeframe actually matters?
I used to think the same thing. You open your platform and there are dozens of ways to trade the same asset. It gets confusing fast.
Here’s what I learned after years of testing different approaches.
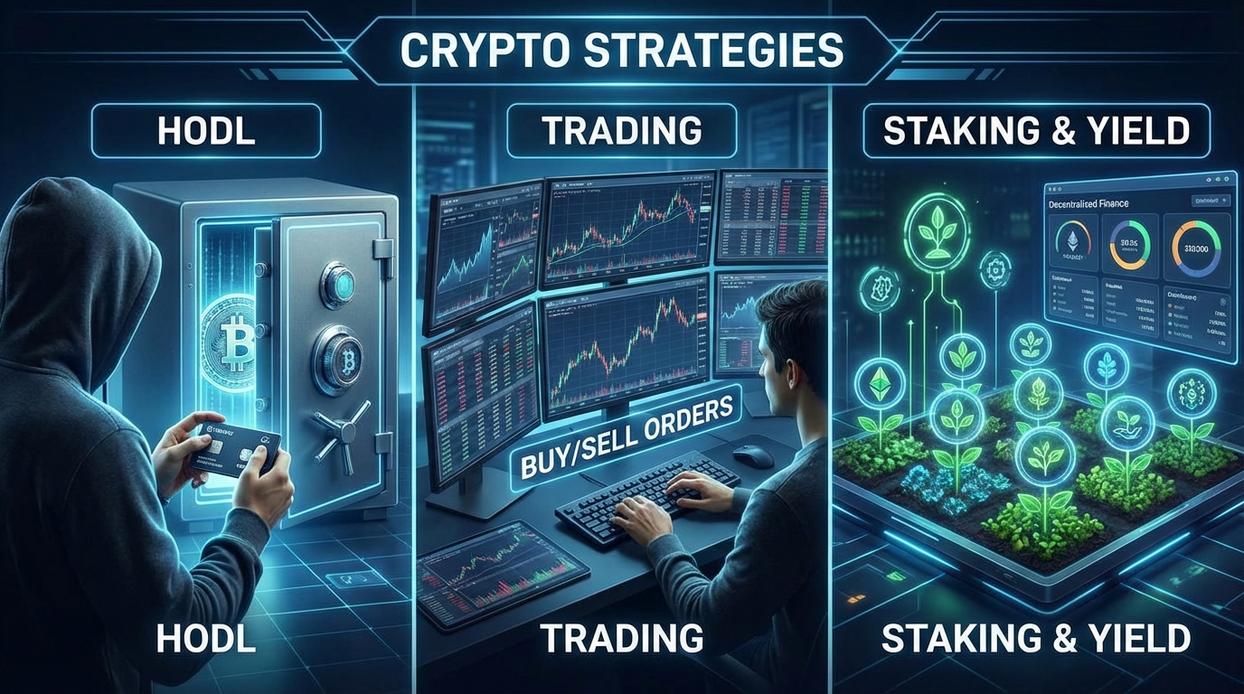
There’s no single “best” strategy. But there are strategies that fit different goals and schedules.
Momentum Trading with Signal Analysis
You want to catch trends when they’re already moving. That’s the whole point of momentum trading.
I watch for moments when price action and momentum oscillators tell the same story. When both agree, that’s your signal.
The platform’s built-in tools make this easier than you think. You’re looking for alignment. Price pushing higher while momentum confirms it. That’s when I consider entry.
Some traders say momentum is a lagging indicator and you should ignore it completely. They prefer pure price action. And sure, price is king. But dismissing momentum entirely? You’re throwing away confirmation that could save you from bad trades.
Scalping on Low Timeframes
Ever wonder if those tiny moves on the 1-minute chart are actually worth trading?
They can be. But only if you have discipline.
I’m talking about the 1m to 5m charts here. Quick entries and exits. Small profits that add up over multiple trades.
EMA crosses work well for this. When a faster moving average crosses a slower one, you get a clear visual signal. The trick is sticking to your plan (which most people don’t do when things move fast).
You need tight stops. You need to take profits when they appear. No second-guessing.
Swing Trading Key Levels
Now let’s talk about the opposite approach.
What if you don’t want to sit in front of charts all day? Swing trading might fit better.
I use 4-hour or daily charts for this. The goal is finding major support and resistance zones where price has bounced before.
You’re planning trades around these levels. Waiting for price to come to you instead of chasing it around. The reward-to-risk ratio tends to be better because you’re catching bigger moves.
It takes patience though. Sometimes you wait days for the right setup.
Volume Profile Analysis
Here’s something most traders overlook.
Volume profile shows you where the most trading happened at specific price levels. These zones act like magnets. Price tends to return to them.
The Point of Control is the level with the highest volume. Think of it as the price where buyers and sellers agreed the most.
When price moves away from these zones, it often pulls back. That’s your opportunity.
I check volume profile before planning any trade now. It’s part of my routine, just like checking trading tips etrstrading strategies from etherions for additional confirmation.
The platform makes this visual. You see the profile right on your chart. No complex calculations needed.
Which strategy sounds like it fits your schedule?
The Trader’s Shield: Advanced Risk Management on the Platform
You can have the best entry timing in the world.
But if you don’t protect yourself, one bad trade can wipe out weeks of gains.
I see it happen all the time. Traders nail three or four winning positions, then give it all back on a single loss because they didn’t set proper safeguards.
Some people say risk management is just about setting a stop-loss and walking away. That it’s overthinking to use multiple protection layers.
Here’s why that’s wrong.
A basic stop-loss only protects your downside. It doesn’t help you keep profits when a trade suddenly reverses after moving in your favor. And it definitely doesn’t stop you from holding too long because you’re hoping for just a bit more.
Let me show you how to actually protect your account.
Trailing Stop-Loss: Your Profit Protector
A trailing stop moves with your position. When you’re up 5% on Etherions, the stop adjusts upward. If price drops back, you exit with gains locked in instead of watching them disappear.
Set it at 2-3% below your current price as the trade climbs. That gives you room for normal pullbacks while protecting against real reversals.
Take-Profit Orders: Fighting Your Own Greed
You need to decide where you’re getting out before emotions take over.
I use multiple levels. If I’m targeting a 10% gain, I’ll take half my position off at 7% and let the rest run to 10% or my trailing stop (whichever hits first).
Here’s what that looks like:
| Exit Level | % of Position | Target Gain |
|————|—————|————-|
| First Exit | 50% | 7% |
| Second Exit | 30% | 10% |
| Final Exit | 20% | Trailing Stop |
This way, you guarantee some profit even if the trade doesn’t hit your full target.
The 1% Rule: Position Sizing That Saves Accounts
Never risk more than 1% of your account on a single trade.
If you have $10,000, that’s $100 maximum risk per position. Your stop-loss distance determines how many Etherions you can trade.
Say your stop is 5% away from entry. You can only trade $2,000 worth of Etherions because 5% of $2,000 equals your $100 risk limit.
The math is simple: (Account Balance × 1%) ÷ Stop-Loss % = Position Size
Mapping Your Trade Before You Enter
The platform’s Long Position and Short Position tools let you visualize everything first.
Click the tool. Set your entry price where you plan to buy. Drag your stop-loss to a logical support level (not just a random percentage). Then place your take-profit at resistance or your target.
You’ll see your risk/reward ratio instantly. If it’s below 1:2, I don’t take the trade. Why risk $100 to make $150 when you can wait for setups offering $100 risk for $300+ potential?
Before placing any order, check your coinbase wallet review etrstrading setup to confirm you have funds ready and positioned correctly.
Pro tip: Screenshot your planned trade with all levels marked. It keeps you honest when emotions kick in mid-trade.
These tools don’t guarantee wins. But they do guarantee you’ll survive your losses and stay in the game long enough to catch the big moves.
Gaining an Edge: Leveraging Exclusive Platform Analytics
Most traders ignore the best data sitting right in front of them.
I’m talking about platform analytics. The trader sentiment indicator. The funding rate data. Tools that show you what everyone else is actually doing with their money.
Here’s my take on this.
The long/short ratio for Etherions tells you something most price charts can’t. When 80% of traders are long and prices keep dropping? That’s not a buy signal. That’s a crowd about to get liquidated.
I use it as a contrarian signal when readings hit extremes. If the ratio shows everyone piling into longs during a rally, I start looking for exits (not entries).
But you can also use it for confirmation. When sentiment aligns with strong price action and volume? That move probably has legs.
Now let’s talk funding rates.
For perpetual contracts, this number matters more than most people realize. Positive funding means longs are paying shorts. Negative means shorts are paying longs.
When funding rates spike above 0.1% every eight hours? The market’s getting frothy. Too many people are overleveraged on one side. I’ve seen this precede sharp corrections more times than I can count.
Pro tip: Check etrstrading trading tips from etherions for real-time funding rate alerts that can help you spot these extremes before they reverse.
Extreme negative funding tells a different story. It means shorts are desperate and paying a premium. That’s when I watch for short squeezes.
Trading Etherions with Confidence and a Plan
You now have the strategies and platform tips you need to trade Etherions effectively.
Here’s the thing: trading on emotion in a volatile market will drain your account fast. I’ve seen it happen too many times.
The difference between struggling traders and consistent ones comes down to this. A clear strategy paired with disciplined risk management gives you an edge. When you combine that with the platform’s tools, you’re trading like a professional.
Don’t try to implement everything at once.
Pick one tip from this guide and use it on your next trade. Start with something simple like calculating your position size correctly. That single habit can protect your capital while you build the rest of your system.
etrstrading trading tips from etherions work because they’re built on real market conditions, not theory. Apply them consistently and you’ll see the difference in your results.
Your next trade is an opportunity to prove you can stick to a plan. Homepage.